SDX Geofencing
Rather than geo-targeting by zip code, state, or country, geo-fencing allows you to target a specific area around a key point of interest. By setting a geo-fence, you can target users in a specific radius of a geo-location, for example, a university campus, music/performance venue, sports arena, restaurant, shopping district, etc. To create a Geo Fence in SDX, follow the steps below.
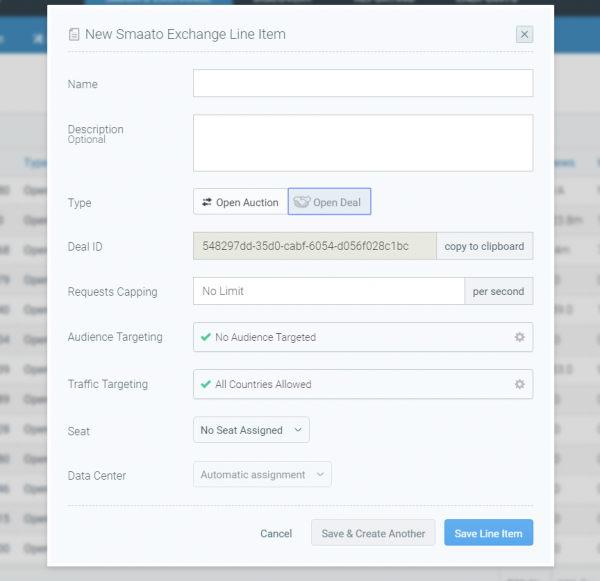
Here is what it will look like when you have selected to create an open auction / open deal line item.
As shown here, when creating an open auction / deal you will see Traffic Targeting as one of the parameters.

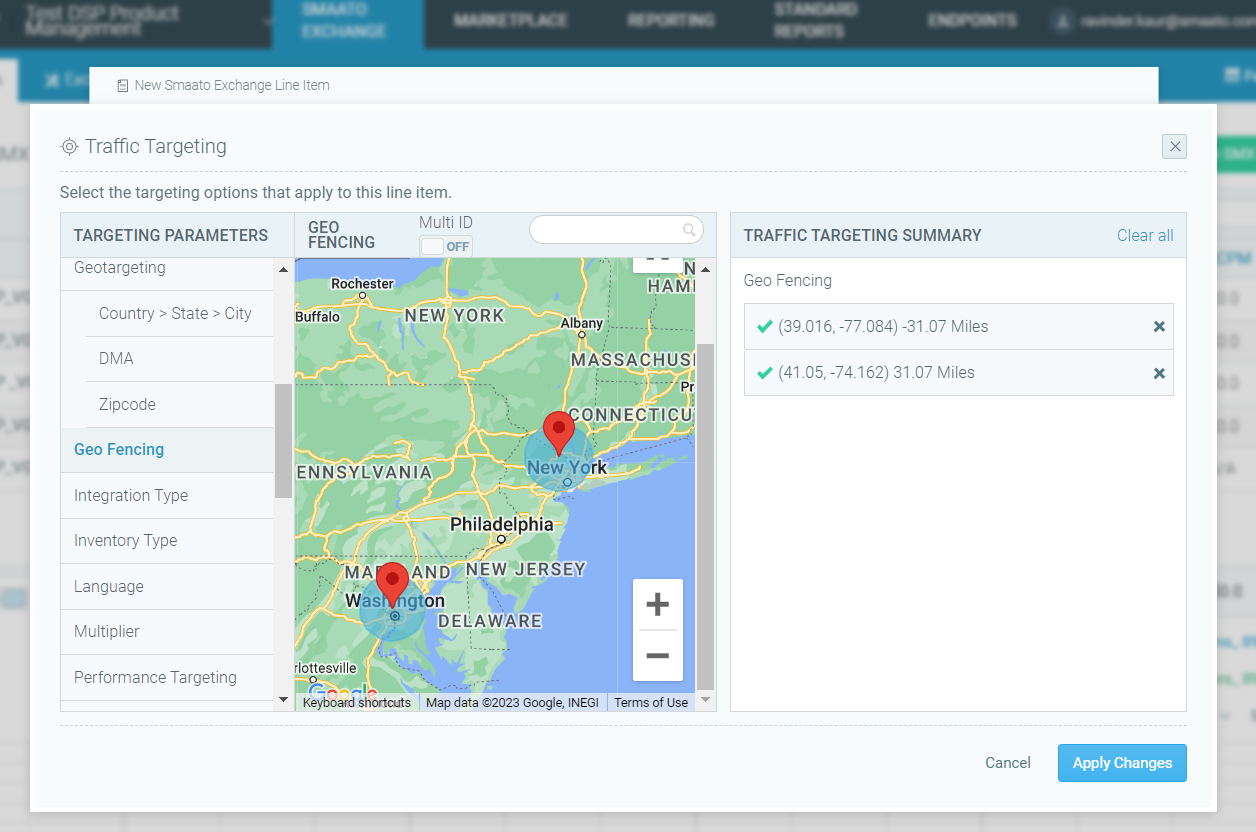
Clicking on Traffic Targeting will open the targeting modal, as shown below. The targeting parameters will have Geo Fencing as one of the options. Target specific geo-fence (also known as lat long) to your line item, by simply dropping a pin on the map. You can drop multiple pins on the same map. The default is set to target globally.

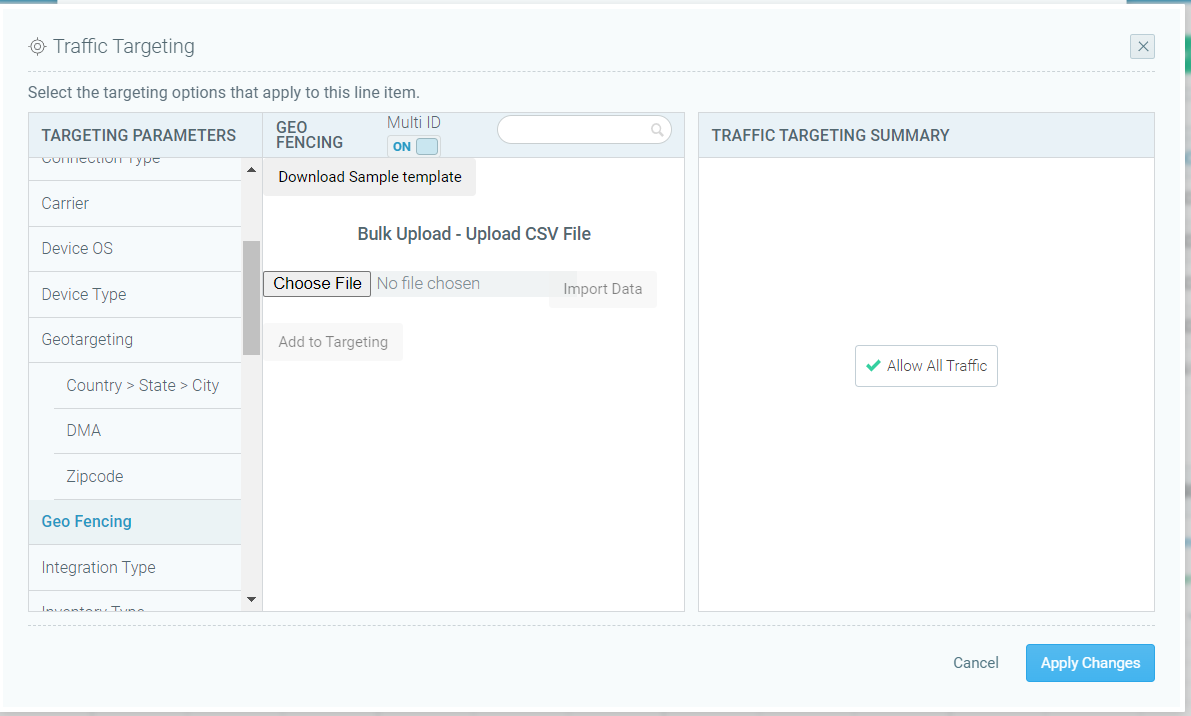
If you want to create multiple fences with precise lat/longs more efficiently, you also have the option to upload the fences by enabling the Multi ID switch on the top. Once you enable the toggle, you can then upload a CSV file with all of your lat/longs + radiuses for each geo-fence. A sample template is provided on the UI for reference.

- Whether you bulk upload or drop specific pins, click on Apply Changes.
- When you have finished creating your new line item, simply click Save Line Item, or Save & Create Another if you would like to create another Line Item right away.
Last Modified: May 22, 2023 at 10:29 am